COSC1200 - Software Installation
Instructions for Downloading and Installing JetBrains
Installing the JetBrains IDE is fairly simple, but here are some step-by-step instructions for those who feel more confident. For those whom are confident, simply read through the following things to make sure a consistent learning environment as will be taught in class.
These instructions are for the current version at the time of writing (Version 2023.3.2), and alter slightly with newer versions. We will try to keep them up to date, but let your professor know if they need updating please.
Step 1 - Download the installation program!
Use the following link to download the installation package (~546MB). Make sure you choose the Community Edition as it is free to use and licensed for how we will use it. If you wish to pay for the ultimate version, feel free, but I would not suggest it at this time.
Download IntelliJ IDEA – The Leading Java and Kotlin IDE (jetbrains.com) 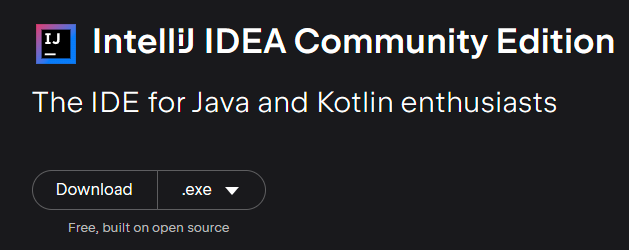
Step 2 - Run the Setup
- run the downloaded executable and accept the security admin permissions pop-up that comes up, click
Next.
- Choose the installation location: The default location is perfectly fine as it is relatively small at 2.4GB. Click
Next.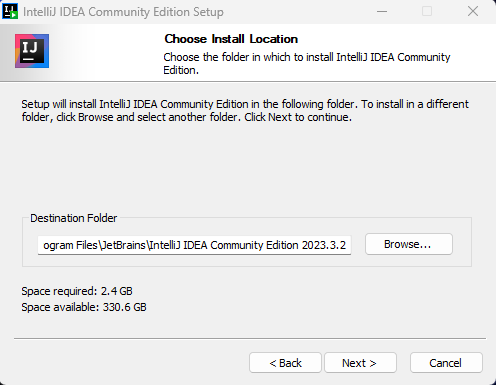
- Choose the installation options
- check the Update PATH option
- check the Create Desktop Shortcut (optional)
- check the .java under Create Associations (optional)
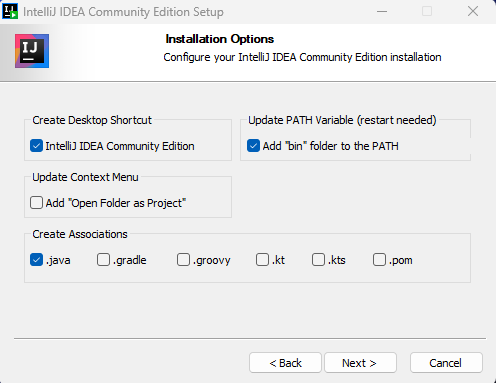
- Click
Next.
- Choose the Start Menu Folder (The default should be fine), click
Next. - Click the
Installbutton. - You "might" be required to reboot your computer (but this is only for the PATH and context menu updates, this will have no impact on trying it out for the first time, but make sure you reboot your computer before you do anything serious in the IDE).

This should then complete the installation.
Step 3 - Run the program for the first time!
When finding your program from the start menu, you will have to start typing "IntelliJ" to find it, for some reason it does not come up by JetBrains.
- Accept the User Agreement and Click
Continue.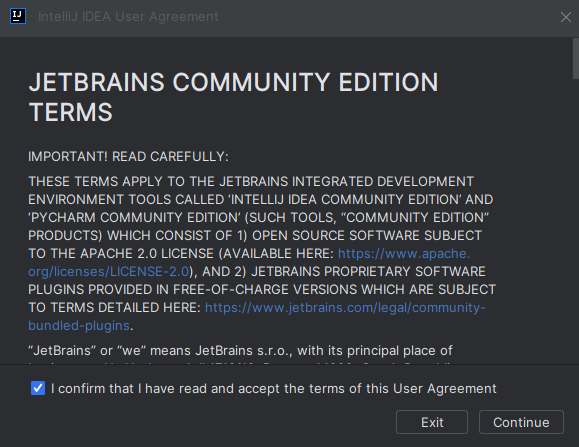
- Data Sharing - I recommend you choose "
Don't Send" but that is entirely up to you!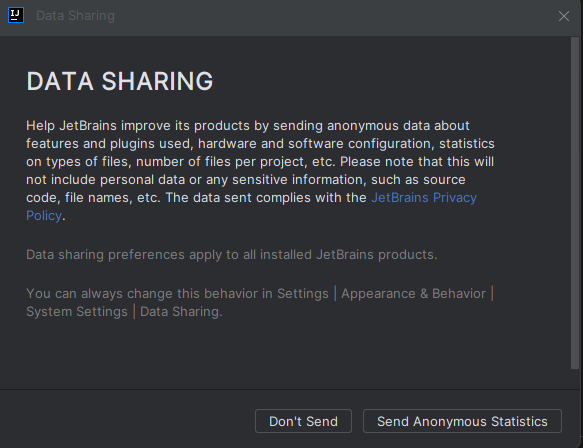
- You will arrive at the start screen (the main hub) of JetBrains.
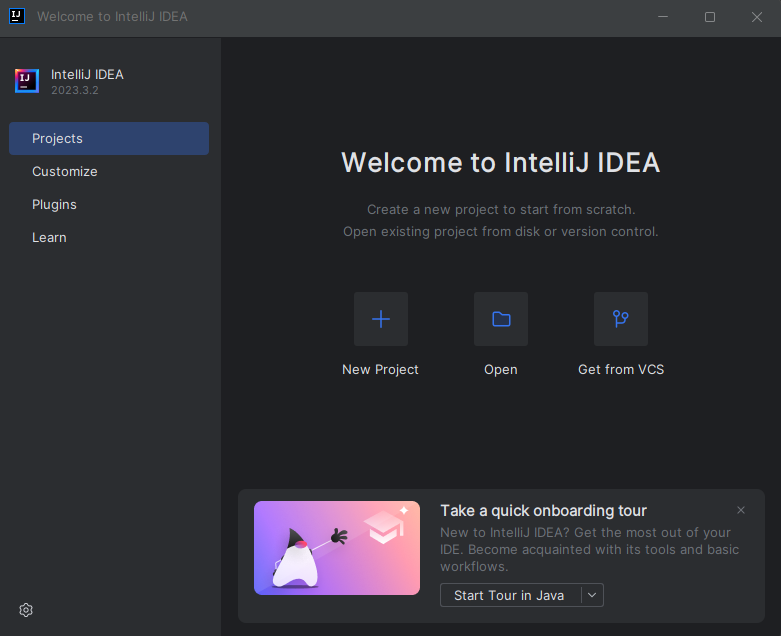
- Optional, but recommended, Take the onboarding tour. As your first time using this software, taking a bit of a tour will absolutely help, but do not be afraid if there are some things that are a little over your head, that is what class is for!
Step 4 - Setting up the required JDK
During your onboarding, or creating your first project, you may see a message stating that the IDE cannot find the JDK (Java Development Kit) on your computer, or the one you have is out of date. If this occurs you will need to install the latest JDK.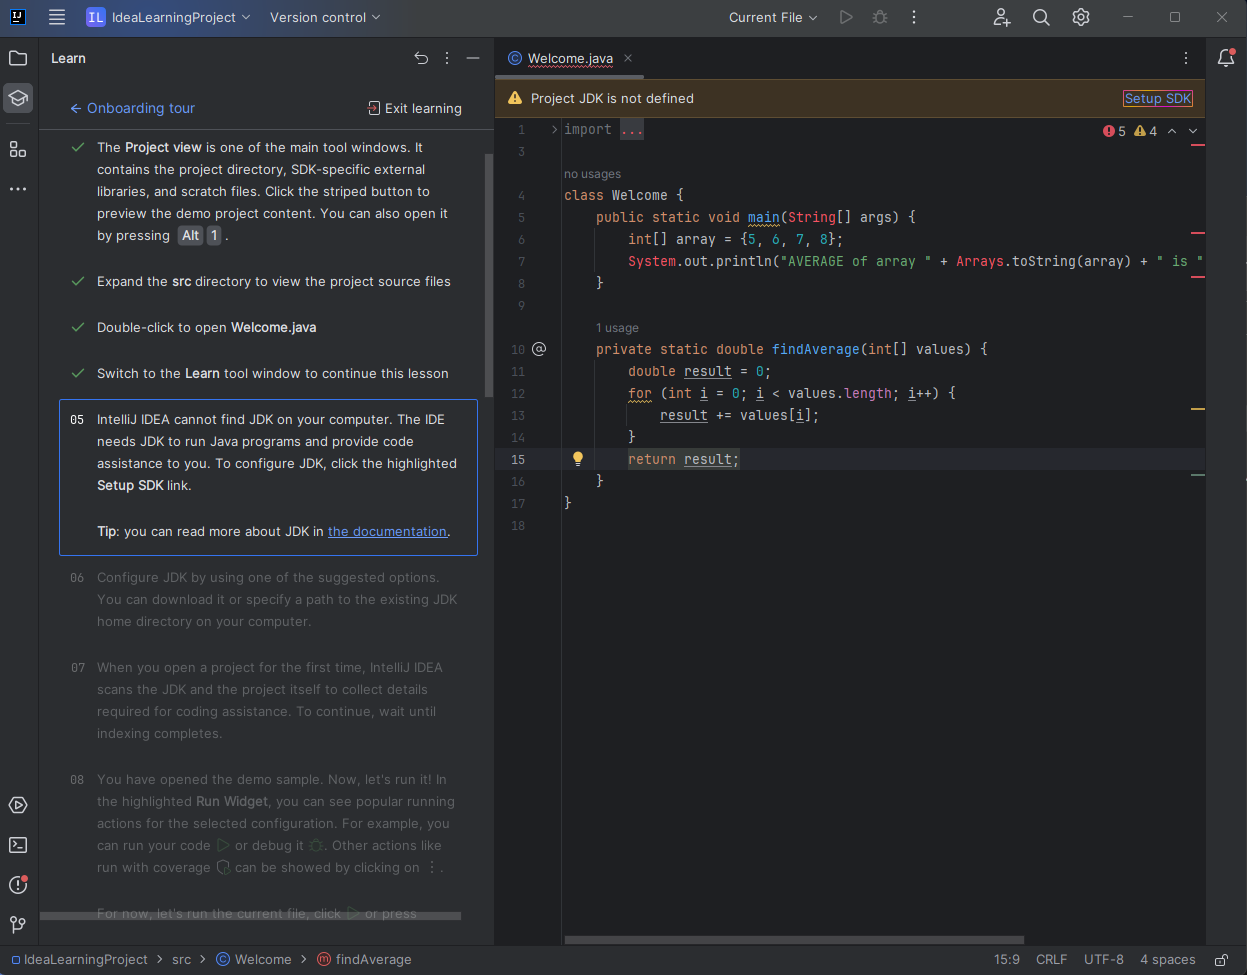
If the Setup SDK link is available (Top Right - see screen shot above)
- click on the
Setup SDKlink, and chooseDownload JDKfrom the dropdown that appears. - just leave the defaults that are given and click
download.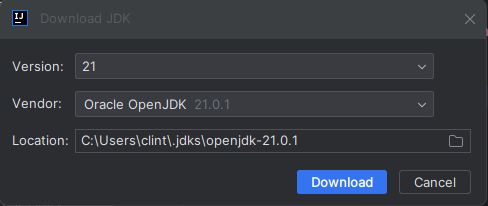
- The download and install will happen automatically (You can see the progress in the bottom status bar of the IDE). Once it completes, you will then be able to continue the onboarding, or your first project.
If the Setup SDK link is not visible.
- Visit the following link to download the JDK manually. Java Downloads | Oracle Canada
- Choose the x64 installer under the windows tab.
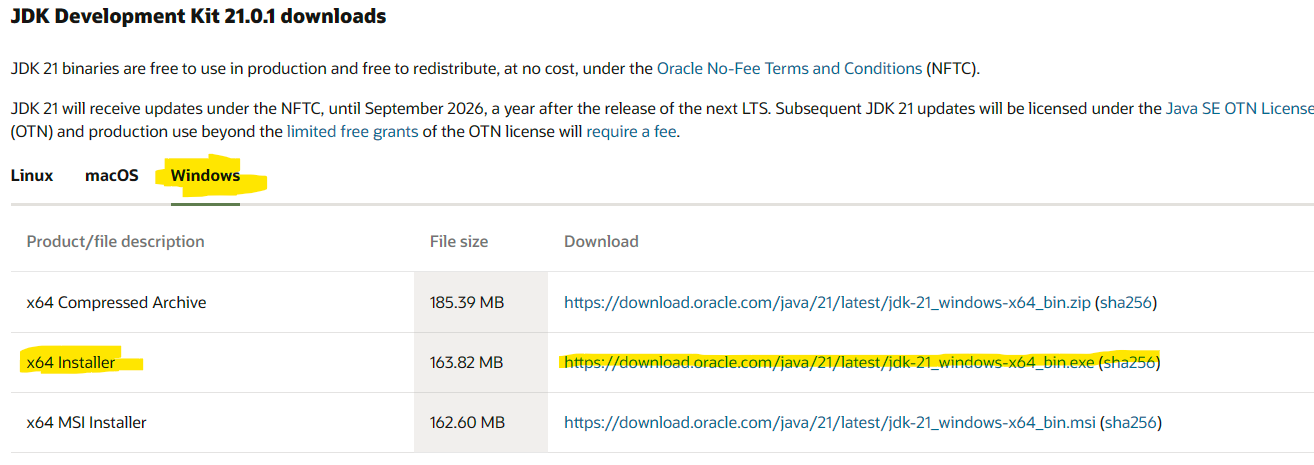
- Simply choose all the defaults and click through to install. You can then restart JetBrains to have it available.
You should now be able to complete and execute the onboarding tutorial or your first project.